
Cappuccino Latte Art Tutorial: From Reading Microfoam to Mastering Heart, Tulip & Swan
TL;DR: Cappuccino latte art starts with steaming milk to a "wet-paint" microfoam (bubbles <0.5 mm), then pouring with the mantra "high pour to set, low pour to paint, control flow." Master the heart first for muscle memory, then layer tulips, finally add the swan's wrist tremolo.
#Why Start by "Reading" a Cappuccino Before Pouring Art?
In our Cappuccino, Mocha, Latte | Illustrated Guide to the Big Differences we established that a cappuccino follows a 1:1:1 ratio of espresso, hot milk, and foam with a 1–1.5 cm foam cap. Latte art presupposes you can recognize true microfoam the moment you steam — bubbles invisible to the eye, a porcelain sheen, and seamless integration with crema. If the foam resembles bath bubbles or separates in the pitcher, no wrist technique will rescue the pattern.
#How to Train Microfoam Texture: Four Steam-Wand Decisions
#1. Cold Milk, Cold Pitcher, Headroom for Expansion
Use a 350–450 ml spouted pitcher, pour 100–120 ml whole milk (≈3.5 % fat), filling no more than one-third. Chilled milk (4–6 °C / 39–43 °F) buys you a 5–8 second "stretch" window before scalding.
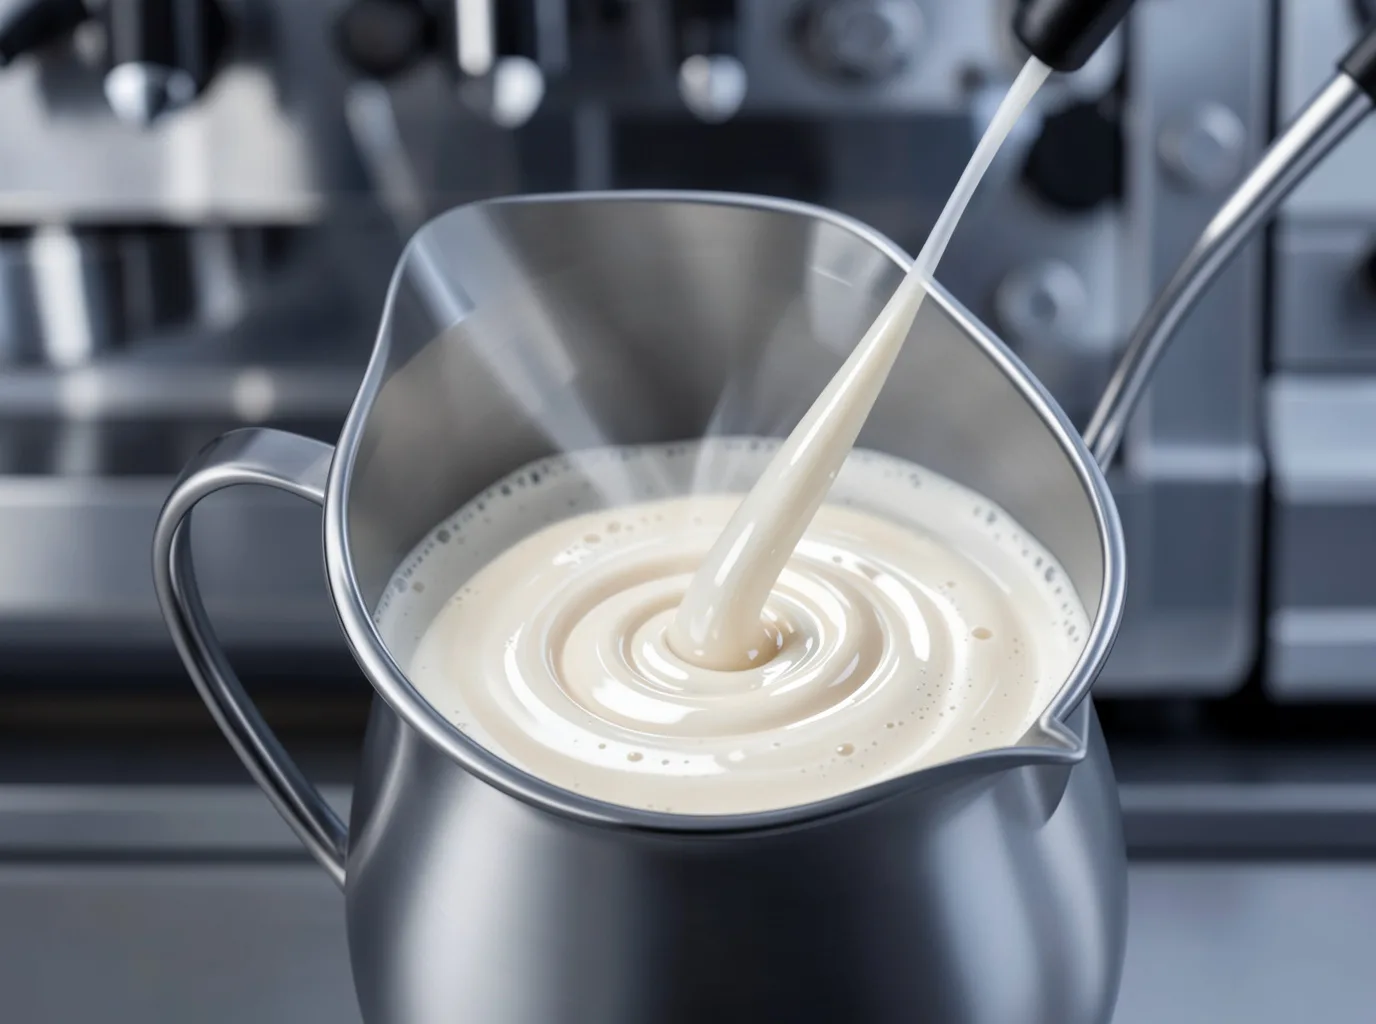
#2. Tip 1–2 mm Below Surface — Listen for the "Silk Tear"
Submerge the steam tip just under the surface, full steam on. A continuous, fine "hiss" (like tearing silk) signals proper aeration; a gurgling "blub-blub" means large bubbles. Hold this 3–4 seconds until volume expands 30–40 %.
#3. Submerge & Spin: Crush Bubbles, Equalize Heat
Drop the tip 1 cm deeper, tilt the pitcher 15–20° to create a single vortex. Centrifugal force shreds remaining macro-bubbles while distributing heat evenly to 60–65 °C (140–149 °F) — hot enough to sting the back of your hand for three seconds.
#4. Rest, Tap, Skim
Kill steam, tap the pitcher 2–3 times on the counter, then spoon off the paper-thin raft. The milk should now mirror-reflect light with zero visible bubbles — that is your "wet-paint" canvas.
#Home Machine Steam Pressure Too Weak? Three Workarounds
Most single-boiler home machines deliver 0.8–1.0 bar versus 1.5–2.0 bar on commercial doubles. Compensate with:
- Less milk: Steam 60–80 ml to cut heating load and stretch time.
- Pre-heat the pitcher: Rinse with boiling water 30 seconds, discard — reduces thermal shock.
- Pulsed steaming: 2 seconds on, 3 seconds off for pressure recovery; total time rises but steam quality stays drier.
If microfoam remains elusive, practice "dry latte art" first: whisk cold milk to wet-paint texture with a handheld frother, then pour into already-pulled espresso. This decouples steaming skill from pouring skill.
#Which Pattern First? Heart → Tulip → Swan Roadmap
| Pattern | Core Motion | Key Rhythm | When to Start |
|---|---|---|---|
| Heart | High pour → snug pour → push → cut | "Pour, stop, push, cut" 4 beats | Cups 1–50 |
| Tulip | Stacked micro-hearts with micro-retracts | "Pour, push, back, pour, push, back… cut" | Cups 50–200 |
| Swan | S-curve neck wiggle → wing flare → head flick | Continuous 3–4 Hz wrist tremor + flow taper | 200+ cups |
#Heart: Locking in "Snug Pour" Muscle Memory
- High pour to set: Spout 5–8 cm above crema, thin stream into center until cup is 70 % full.
- Snug pour: Drop spout ≤1 cm from surface, double flow rate.
- Push: White dot expands; glide spout 1–2 cm toward far rim.
- Cut: Lift, thin stream, slice back through center to starting point — sharp tip appears.
#Tulip: Learning Rhythmic Retraction
On each layer, after the push, pull the spout 0.5 cm toward your body (micro-retract), then repeat "pour → push → back." Three to five layers form a tulip. Retract too far and you disturb the previous layer; too little and layers merge invisibly.
#Swan: The Calligraphy Moment
The neck is a 3–4 Hz, ≤2 mm lateral tremor; the wing flares when flow momentarily surges at the tremor's apex. Drill the wrist tremor + flow switch with water in an empty cup before adding milk.
#Whole Milk, Oat, Skim: Side-by-Side Latte Art Performance
| Milk Type | Protein/Fat | Foam Stability | Gloss | Line Definition | Flavor Note |
|---|---|---|---|---|---|
| Whole (3.5 %) | High/High | ★★★★★ | Mirror | Razor-sharp, clean layers | Rich sweetness, balances bitterness |
| Barista Oat | Med/Med | ★★★★☆ | Velvet | Soft edges, slight diffusion | Grain sweetness, silky body |
| Skim (0–0.5 %) | High/Near-zero | ★★☆☆☆ | Matte | Fragile, layers collapse | Thin, accentuates acidity |
| Barista Almond | Low/Med | ★★★☆☆ | Semi-gloss | Lines break, demands speed | Nutty, slight bitter finish |
Note: Choose "Barista" editions of plant milks — they contain stabilizers (carrageenan, gellan) and fortified plant protein for foam structure. Standard cartons separate or flocculate under steam.
#Common Failure Scenes: Diagnosis & Immediate Fix
| Symptom | Root Cause | Instant Correction |
|---|---|---|
| White dot sinks, no contrast | Flow too fast / spout too high | Slow flow, spout ≤1 cm |
| Jagged, fuzzy edges | Macro-bubbles / insufficient rest | Re-steam, tap & skim thoroughly |
| Lopsided heart, off-center tail | Cut stroke misses center | Drill "lift → slice center → return" alone |
| Tulip layers collapse | Retract too far / flow not tapering | Retract ≤0.5 cm, taper flow each layer |
| Swan neck snaps | Tremor too slow / flow surges | Dry-cup 3 Hz wrist drill, steady flow |
#Closing: Latte Art as an "Emotional Footnote" to Coffee
From recognizing the cappuccino's golden ratio to pushing your first perfect heart, the path looks technical but is really a ritual of patience and presence. Every steam hiss, every spout kiss, every wrist tremor folds the now into the cup. When tulip layers bloom or a swan's neck arches over amber crema, you taste not just pattern but a segment of savorable time.
Next step: This week, log 20 dedicated heart pours — record milk temp, stretch seconds, pour seconds. Find your personal parameter window. For a full espresso skill tree from bean selection through extraction to art, see our Classic Coffee Drink Recipes Ratios: Espresso Base, Milk & Flavor Layering Blueprint and Beginner Coffee Gear Checklist: 4 Budget Tiers.
#FAQ
#How fine must cappuccino foam be for latte art?
Microfoam means bubbles <0.5 mm — invisible individually, mirror-gloss surface, and seamless merging with crema without layering.
#My home machine has weak steam pressure; how can I still pour art?
Steam less milk (60–80 ml), pre-heat the pitcher, use pulsed steaming (2 s on / 3 s off), or practice pouring technique first with hand-frothed cold milk.
#Which pattern should a beginner learn first: heart, tulip, or swan?
Follow heart → tulip → swan. Heart builds snug-pour and cut muscle memory; tulip adds rhythmic retraction; swan demands high-frequency wrist tremor and precise flow taper.
#How do whole milk, oat milk, and skim milk compare for latte art?
Whole milk is most stable with sharpest lines; Barista oat is close with softer edges; skim lacks fat, so foam fractures and layers won't stack.
#What are the most common latte art fails and how do I fix them?
Dot sinks → slow flow & snug pour; fuzzy edges → re-steam & skim; lopsided heart → drill center cut; collapsing tulip → smaller retract & taper flow; broken swan neck → 3 Hz dry-cup wrist drill.






Comments